Hill is used as a distance learning platform. EduHill is a virtual room for SAMK students, where you can hold video meetings and collaborate with other students. This is a guide for students to use EduHill. The instructions describe how to use your own Hill room, record the session and share and download the recording. You will also find instructions for testing Hill (joining a test class) and EduHill (creating your own room).
The teacher tells their own “Hill room” address for example in Moodle, and the room address is usually in the format of https://hill.webex.com/meet/firstname.surname
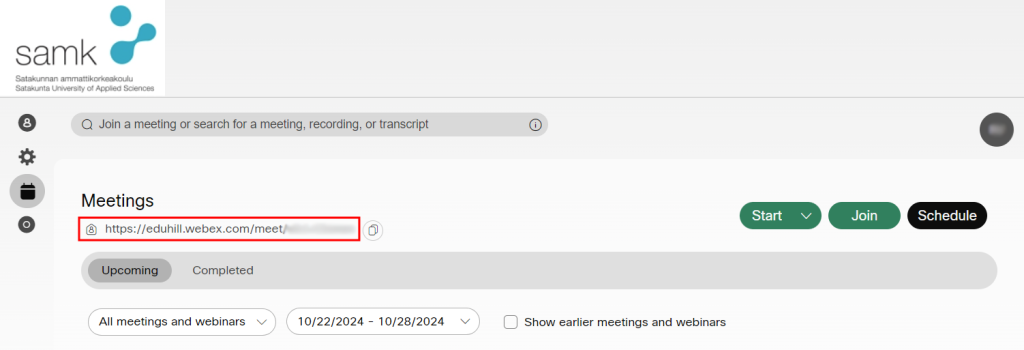
NOTE! The student’s own rooms can be found in EduHill, and their addresses are usually in the format of https://eduhill.webex.com/meet/…
There is student’s own SAMK-ID at the end of the link.
You can find the address of your own room in EduHill under Meetings.
Starting the app:
When you first start the application in a browser, it will ask you to install the Webex add-on. Download the Webex.exe file to your computer and start it by following the instructions on the screen.
If the installation is not successful, there is usually an option on the screen to start it directly in the browser (Join from your browser). We recommend using Chrome or Firefox as a browser.
Connecting audio:
Before entering the room, select the audio and video settings for the session.
Always use computer for audio.
We recommend using a USB headset.
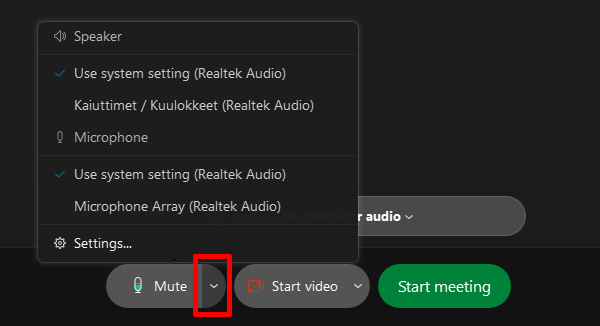
If you want to mute your microphone, click Mute and you’ll see when microphone is muted.
To unmute your microphone during the session, press Unmute on the bottom panel and your voice will be heard by the participants.
By pressing the arrow on the right of the Mute button, you can adjust your voice and change the microphone.
When you are ready, click the green Join meeting button and you will join the session.
Sharing video:
Before the session, you can choose whether you want to share your video image with the participants.
If you want to participate without video, press Stop video button.
You will see when your video is turned off. Your own video images are displayed on the mirror screen by default. You can turn off the mirror view, if you want to see yourself in your own video in the same way that other participants see you.
Share content:
The host of the session can grant you screen sharing rights if you share content with all participants.
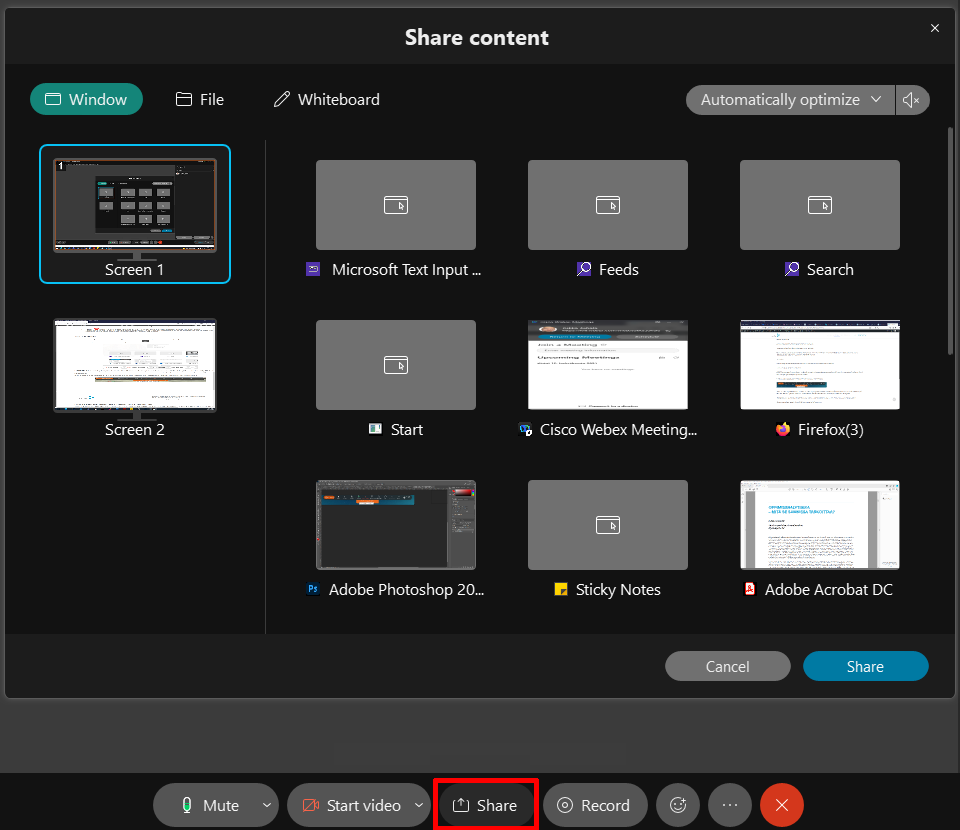
Select Share from the bottom panel.
Note! Usually, Screen 1 mentioned at the top, is the best option to share your entire screen with all its contents. Note that all participants will then see your desktop and any programs you open on the screen.
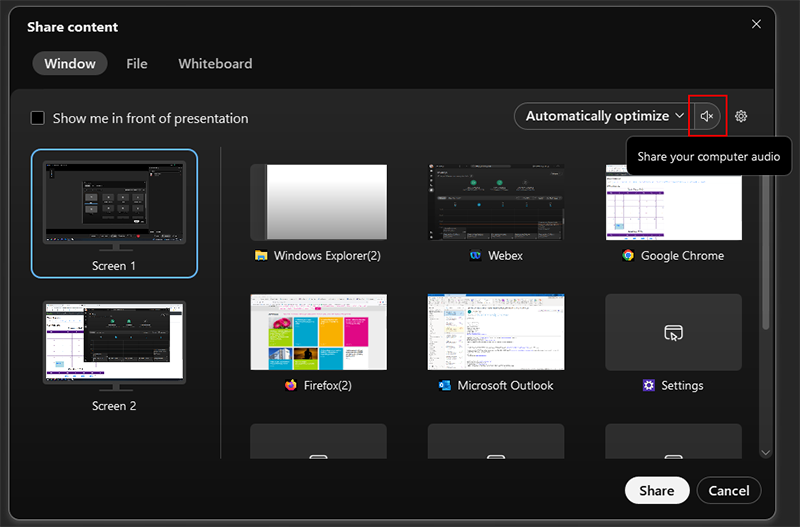
If you are sharing content that you also want to include sound, such as YouTube video, remember to uncheck the box behind the speaker in the sharing window. This cannot be done while the sharing is already running, so if this step is forgotten, the sharing must be stopped and restarted.
During screen sharing, you can access session functions by moving the mouse to the upper edge of the screen.
Cisco Webex Meetings functions
In Cisco Webex meetings, you can define how participants and videos appear on your screen (Video Layout). You can choose whether the display panels are ”floating” (Floating panel view), so that you can make them smaller and larger and place them anywhere on your screen.
The bottom panel shows the most important management tools. For example muting and unmuting microphone, starting and stopping video and screen sharing.
In the lower right panel, you can see the participants and the chat windows.
The incoming and outgoing participant’s tone can be muted in the Participants menu under Entry and Exit Tone.
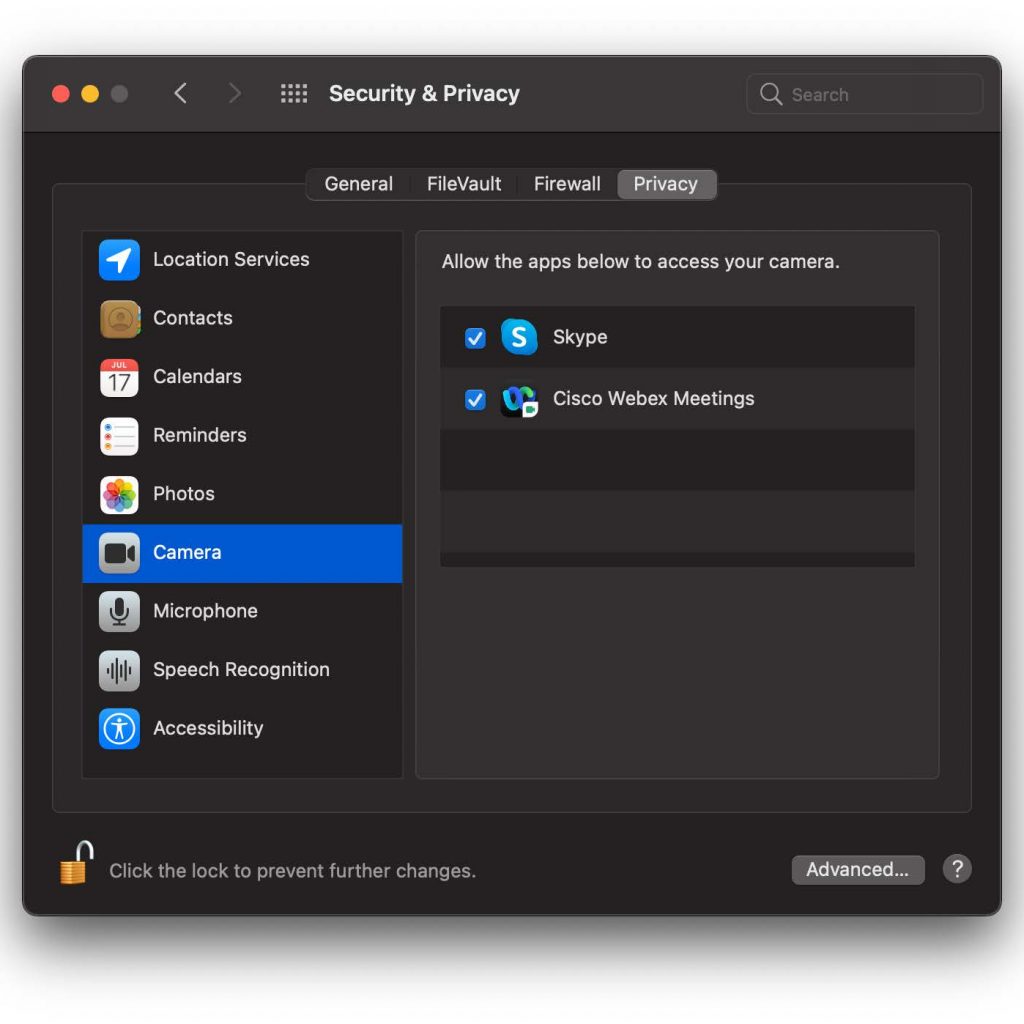
MacOS users:
An issue related to camera / microphone / sharing are usually caused from privacy settings.
From Apple menu:
> System Preferences > Security & Privacy > Privacy tab Open the lock from the bottom left hand corner if needed (with the credentials you log on to your Apple computer).
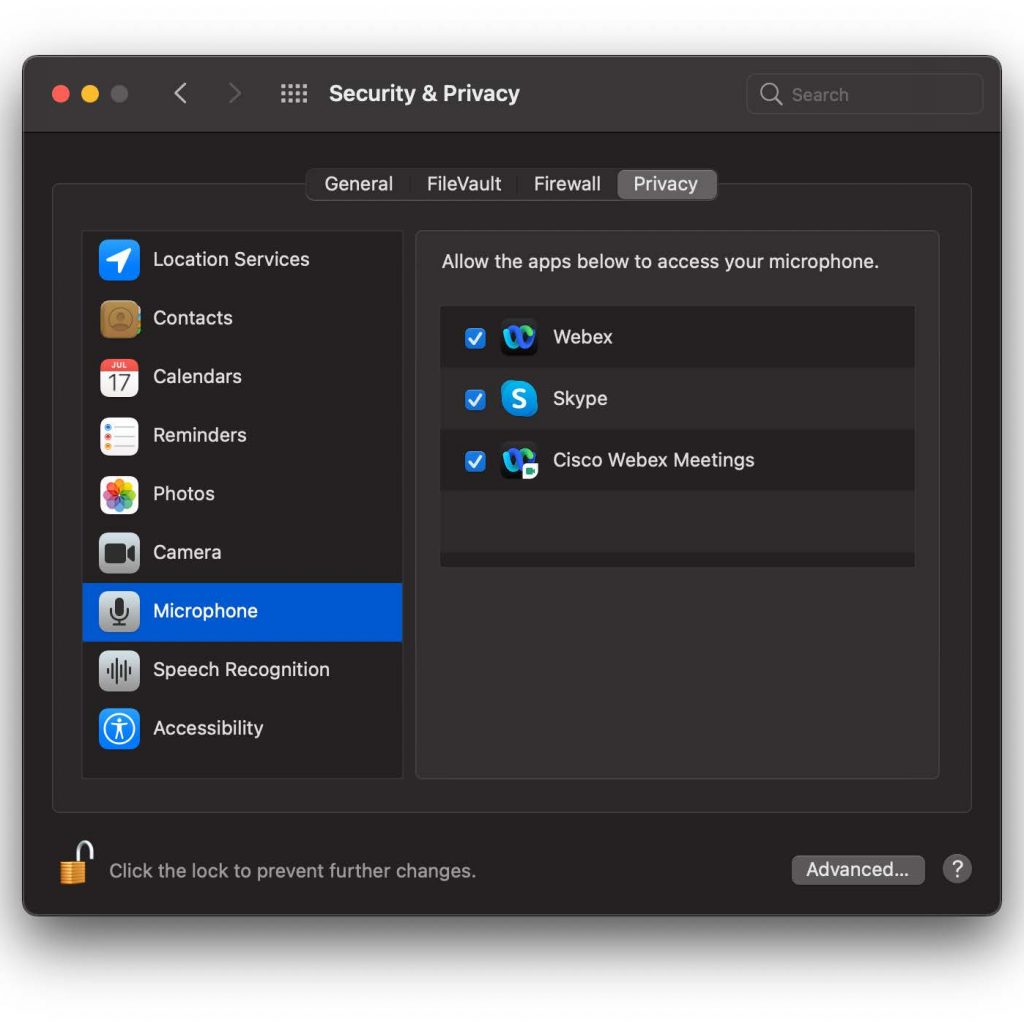
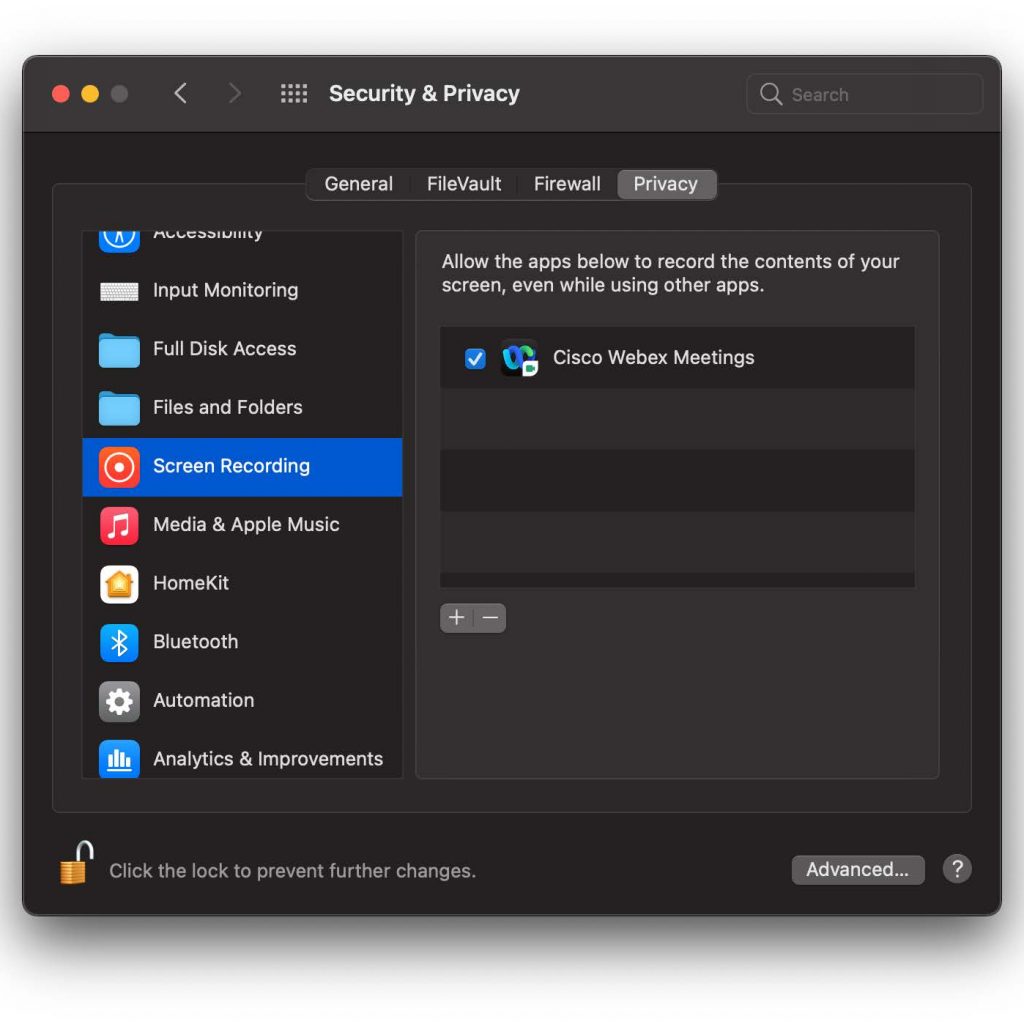
Allow Webex to use Camera + Microphone + Screen recording.
After these, leave Hill session if you are still joined and join again.
Once your account is ready, sign in to EduHilllaunch with your SAMK-email. In your own view, under your name, you can see the web address of your own ”room”, which you can share with participants.
The address of your own room is usually in the format of https://eduhill.webex.com/meet/…
Which means that the end of the link is your own SAMK-ID.
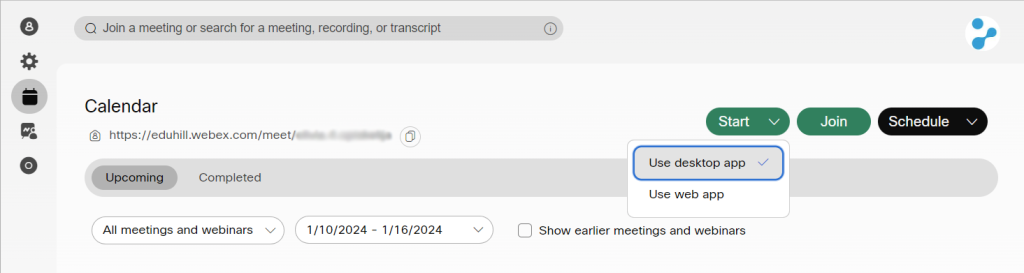
You can open your virtual room by clicking Start. From that button, you can also see if you have the desktop app (Use desktop app). When launching your room for the first time, the program asks you to install the Webex app.
In the future, you can start your room directly from the Webex desktop icon on your computer.
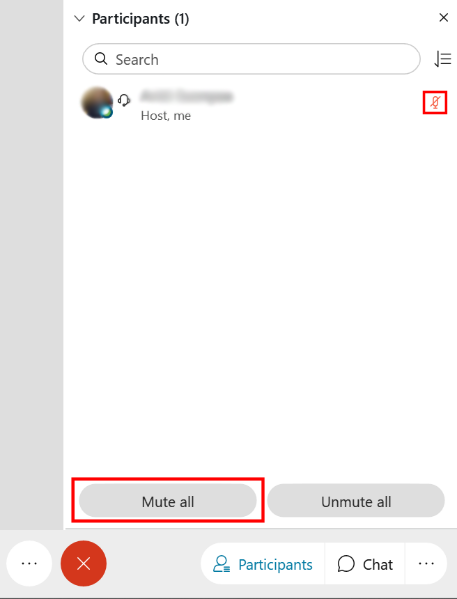
Things to note about the participants microphones
During the presentation, the session organizer should keep the microphones of the participants closed, so that noise and extra sounds do not reduce the quality of the speaker’s voice and lead to a bad recording.
The host of the session can turn off the microphones of the participants from the menu bar at the bottom of the Participants window under Mute all, so that everyone in the session will be muted.
The host of the session can also mute the microphones individually by pressing the red microphone icons from the participants list.
Recording a session
When you want to make a recording in EduHill, you must first launch the Webex application and start a session in your EduHill room.
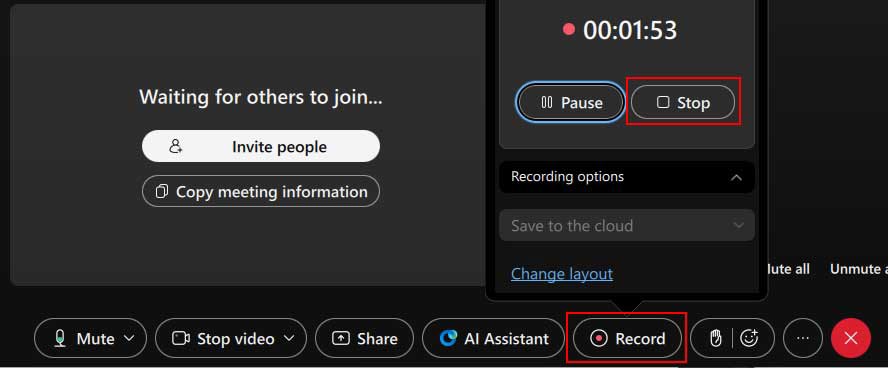
Start recording by clicking the Record button at the bottom. After that, select Save to my computer and finally click the red Record button.
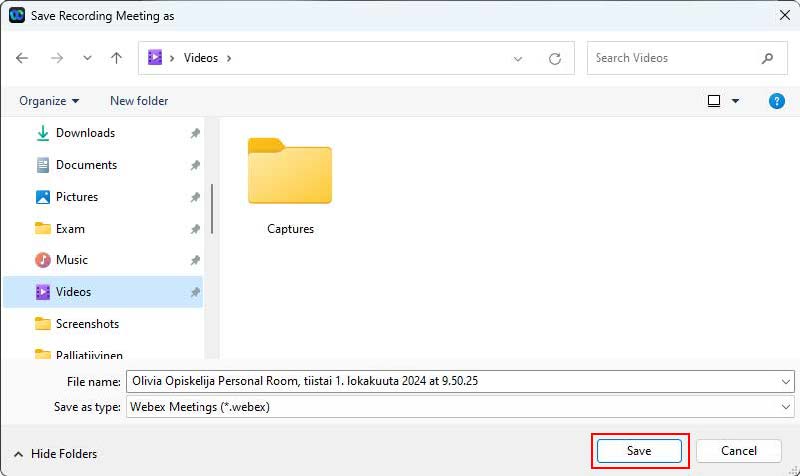
Next, choose where you want to save the recording. If you have a fast Internet connection, you can save directly to e.g. the OneDrive service.
In this example, the local “C:\Users\Olivia\Videos\” folder is selected for the recording.
When your recording is complete, click the Record button again and then the Stop button.
Webex finishes processing the recording for a while, and finally, a notification appears: Your recording is ready. By clicking on the folder image, you can open the folder where the video is saved.
If you want to share your video recording with others, it can be done, for example, in OneDrive or another similar service.
The check-out session makes sure the functionality of your own device: connection, microphone, camera and screen sharing. Here you can check all your devices which you want to take advantage of in the future. Phone and tablet use are also supported.
Before you open the session connect the headset to your computer or the device with which you´ll contact the test session. If you don´t have a headset, you can participate without it. In this case, find a peaceful place for participating.