
Moodle instructions
Moodle instructions
Moodle is a learning environment used in almost all study courses at SAMK. The Moodle base of the study course can contain, for example, course materials, assignments and quizzes.
While working in Moodle:
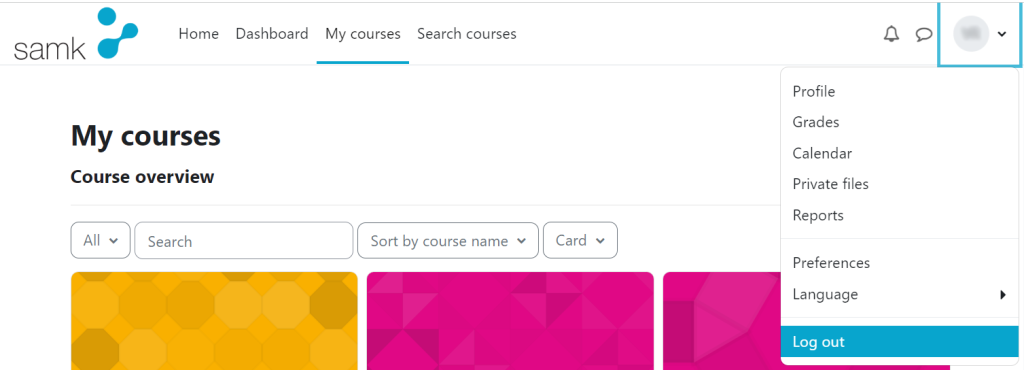
Log Out:
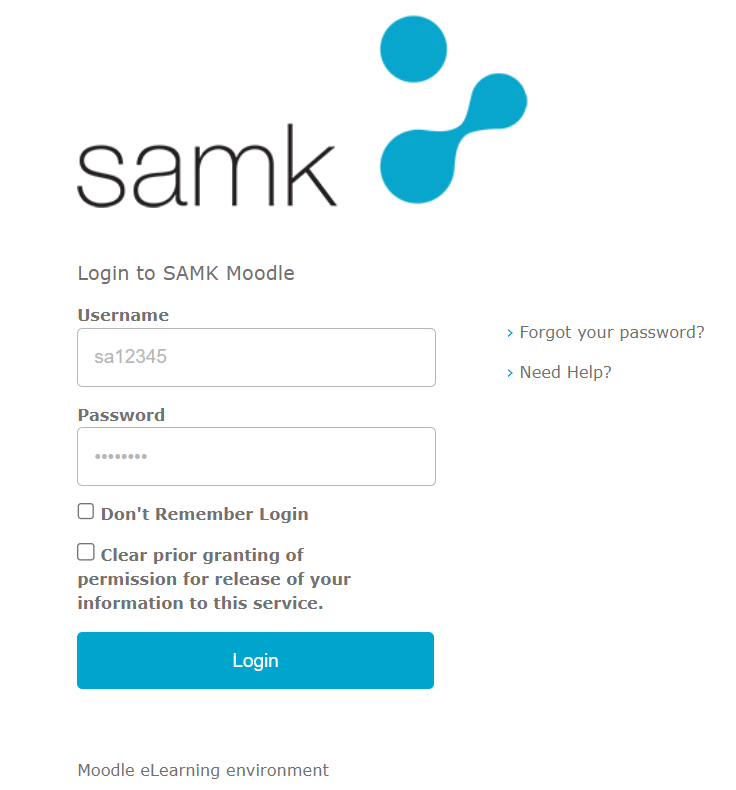
This guide explains how you can log in to Moodle and tells what credentials you have to use.

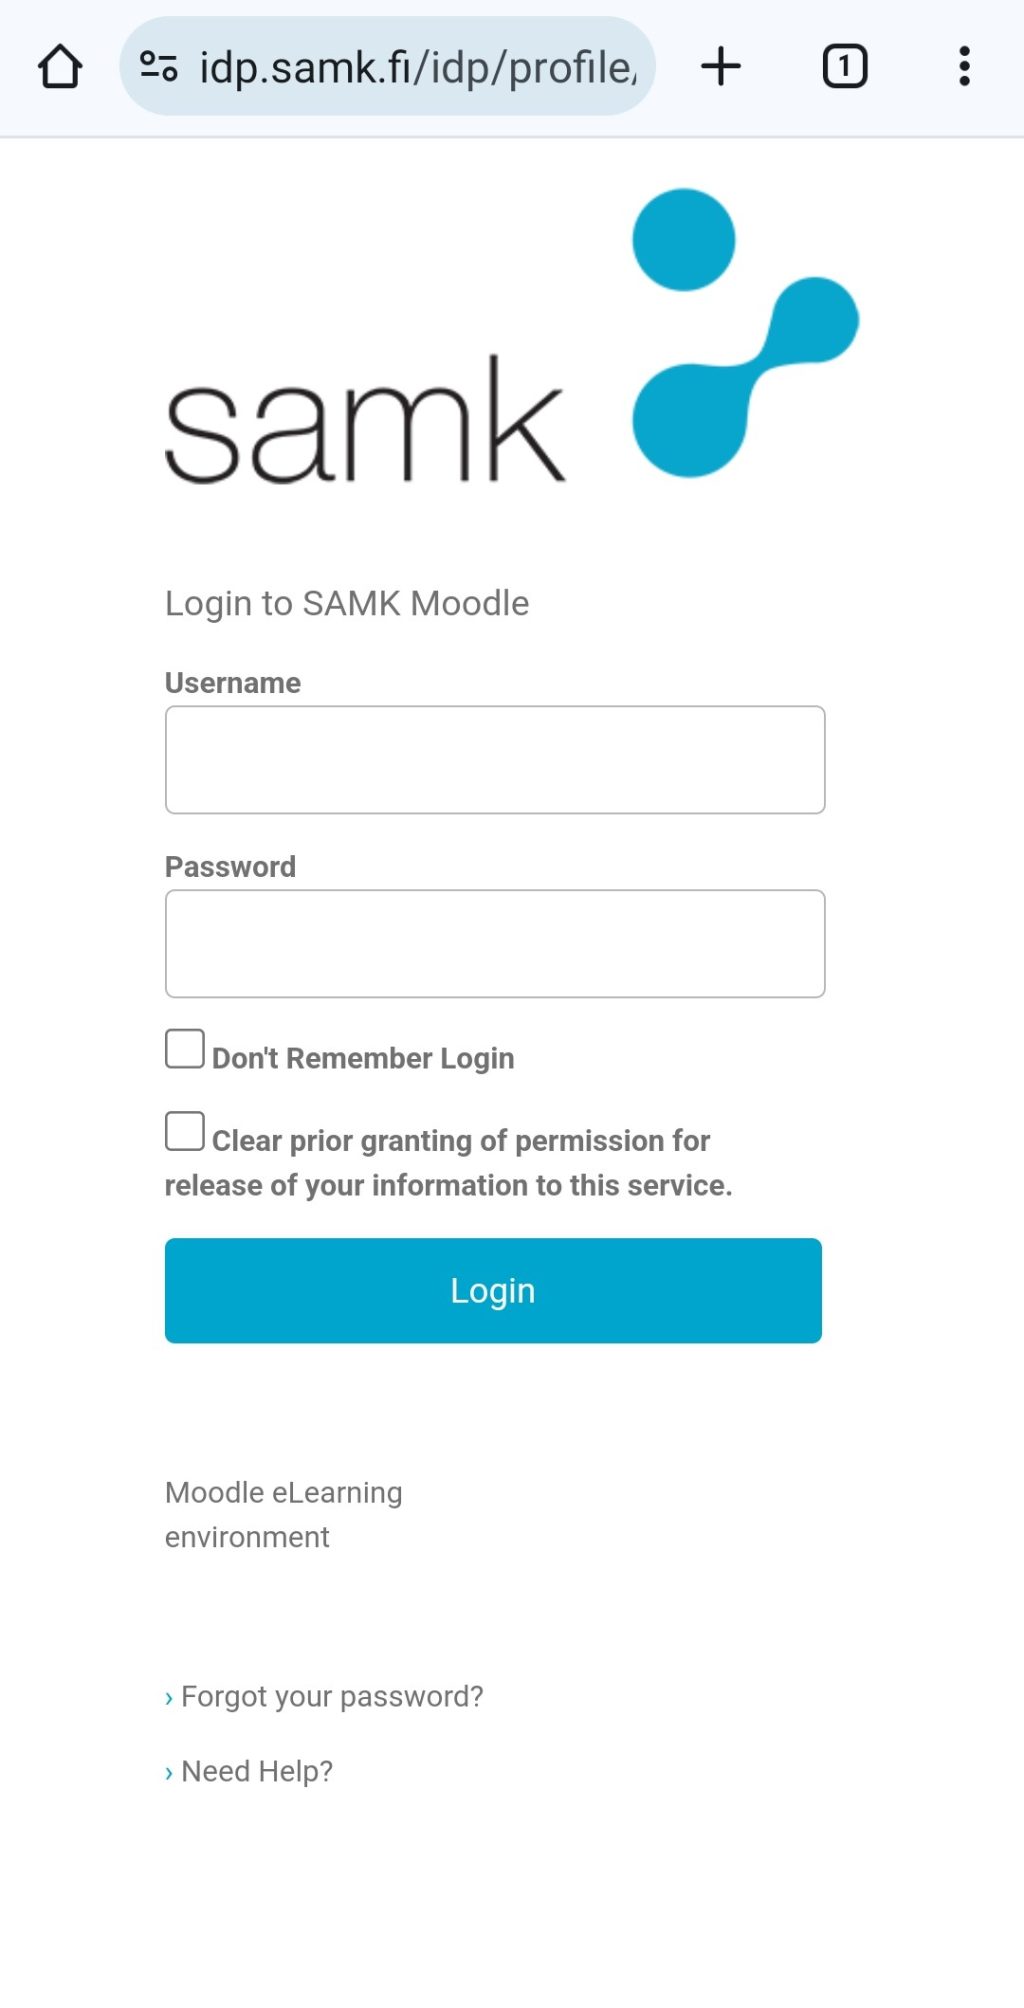
3. After clicking on it, you will end up in the login window.
4. Enter your SAMK-ID in the username field and your corresponding password in the password field. By pressing the Login button after this, you will end up on Moodle’s own courses -tab.
Remember to enter your SAMK-ID to the username field. Not email address!
In case of problems, contact eSAMK support.
Note! when you log in to Moodle 4 for the first time, it takes about an hour for your courses to appear.
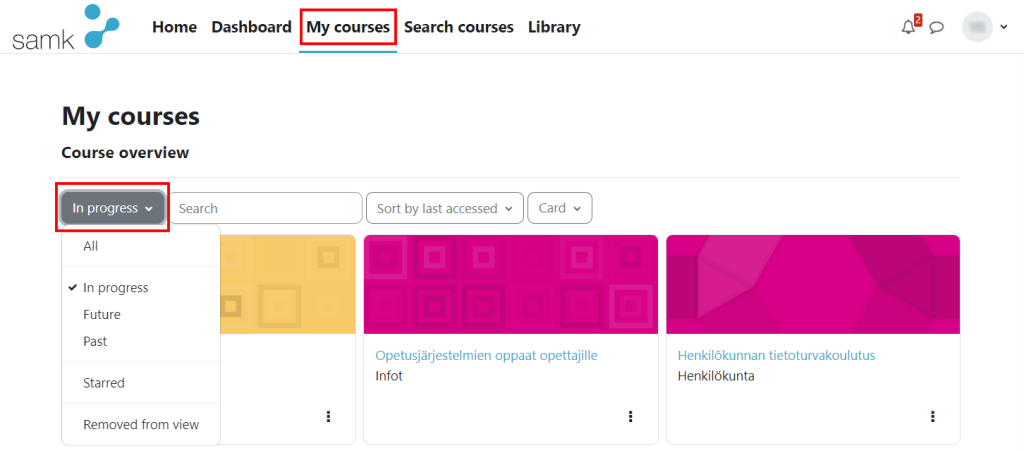
You can see your own courses by selecting the My courses tab at the top of the page.
On the My courses -tab, you will find a course overview, and from the menu below you can choose which courses are visible to you. You can choose to display, for example, all courses, future courses or past courses.
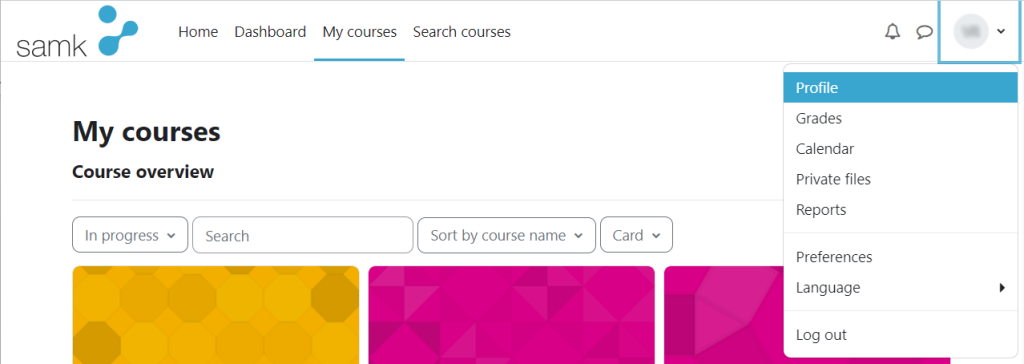
In the profile, you can manage your profile information and for example add a profile picture. You can also see the courses you are enrolled in, your latest login information and personal user information. You can adjust these settings and information manually by clicking Edit profile button.
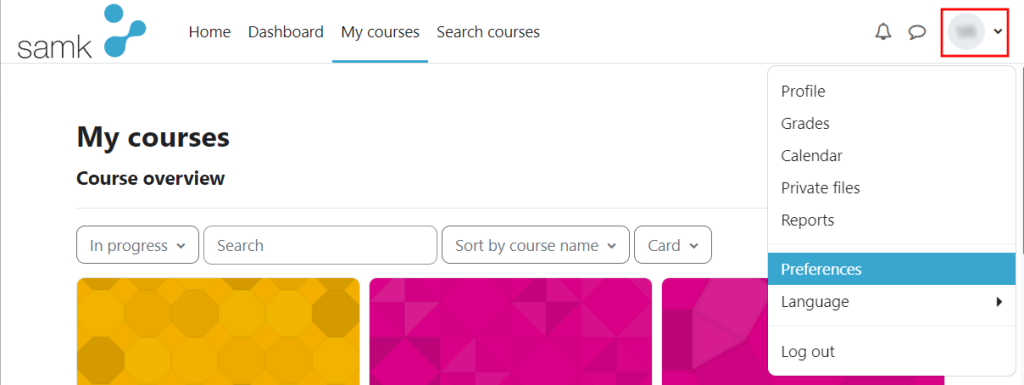
The easiest way to access your profile is through the menu of your user account, at the top right of the site:
Change language:
You can easily change the language for the duration of the session, from the menu of your user account, at the top right of the site:
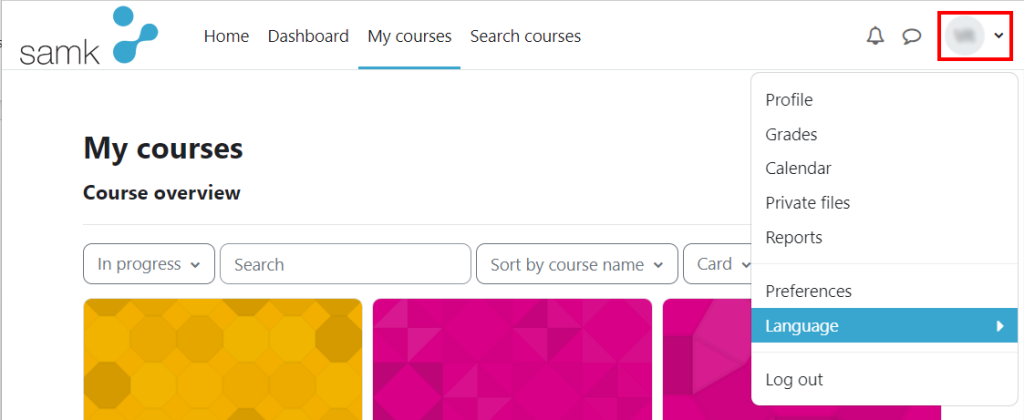
You can change the language of the system from the same menu, under preferences.
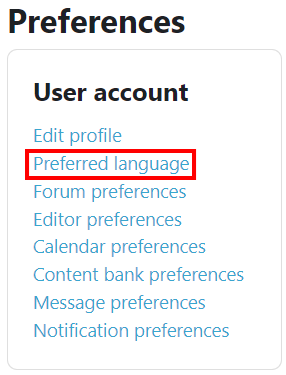
Click Preferred language.
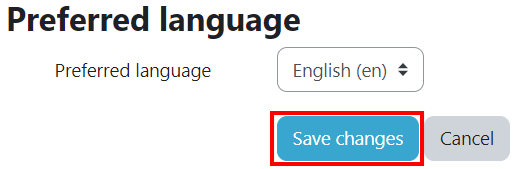
And change language. Remember to click Save changes.
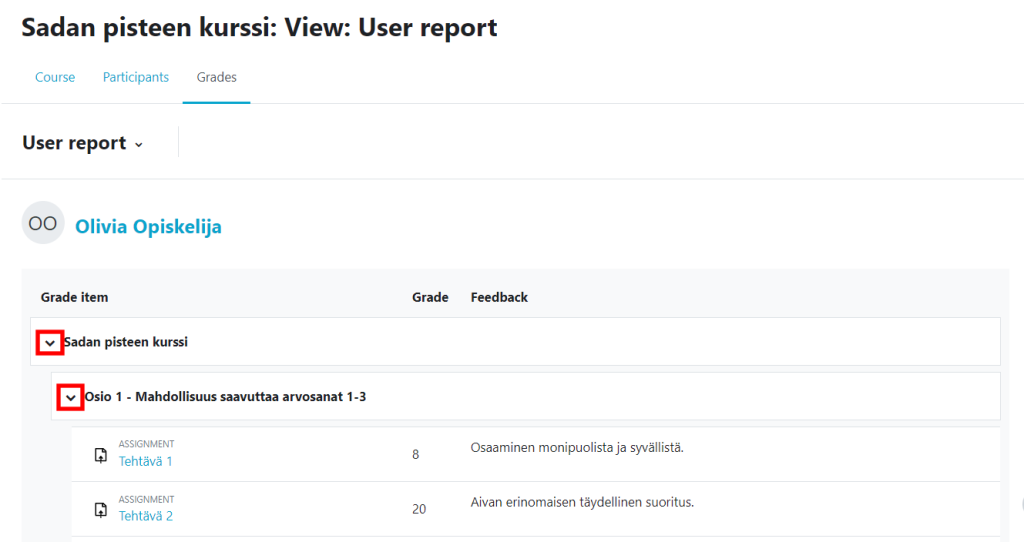
You can find your course evaluation in Moodle under Grades.
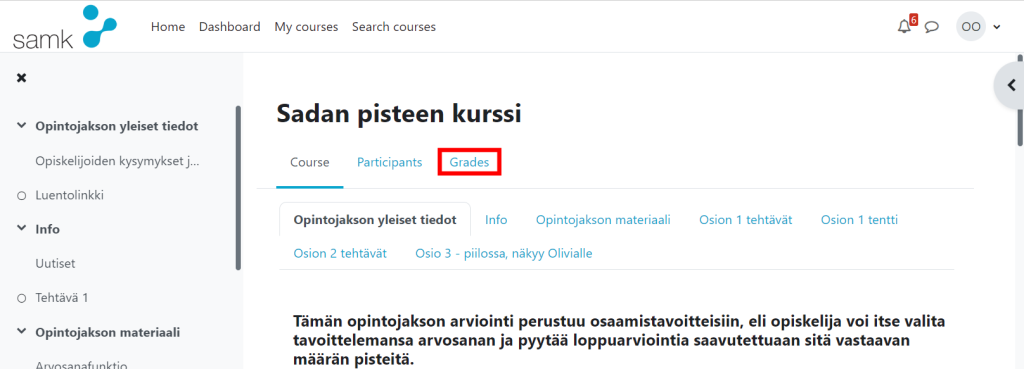
By clicking on the arrow, you get a wider view and section-specific evaluations.
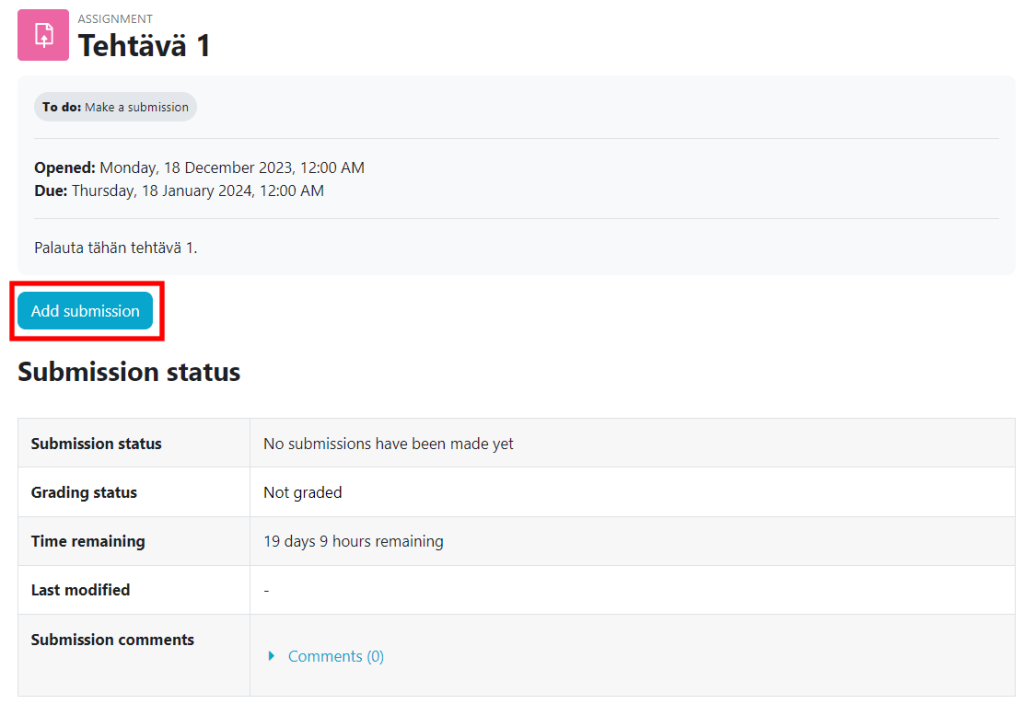
You can submit an assignment either as files or as online text written to the Moodle editor, depending on the settings made by the teacher.
The teacher has probably set a deadline for the assignment. The last return time can be absolute, so after it has expired, the assignment can no longer be returned.
After the submission time has expired, the teacher can give feedback and a grade. You can view the assessment from the same place where you returned the assignment.
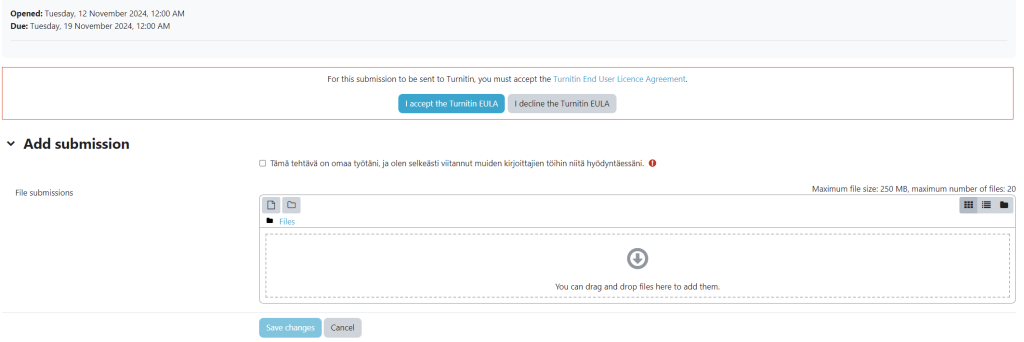
Answers to assignments, exams, etc. can be checked with the Turnitin plagiarism recognition system. You will automatically receive information and instructions about this when submitting the assignment. The feedback goes from Moodle to Turnitin review and when the review is complete, the review report is available to your teacher and possibly also to you in Moodle.
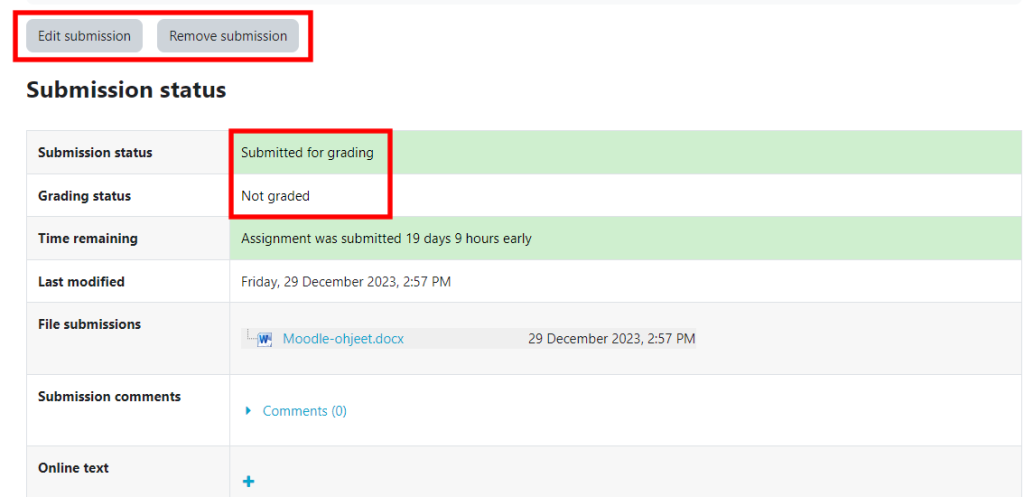
An example of a return:
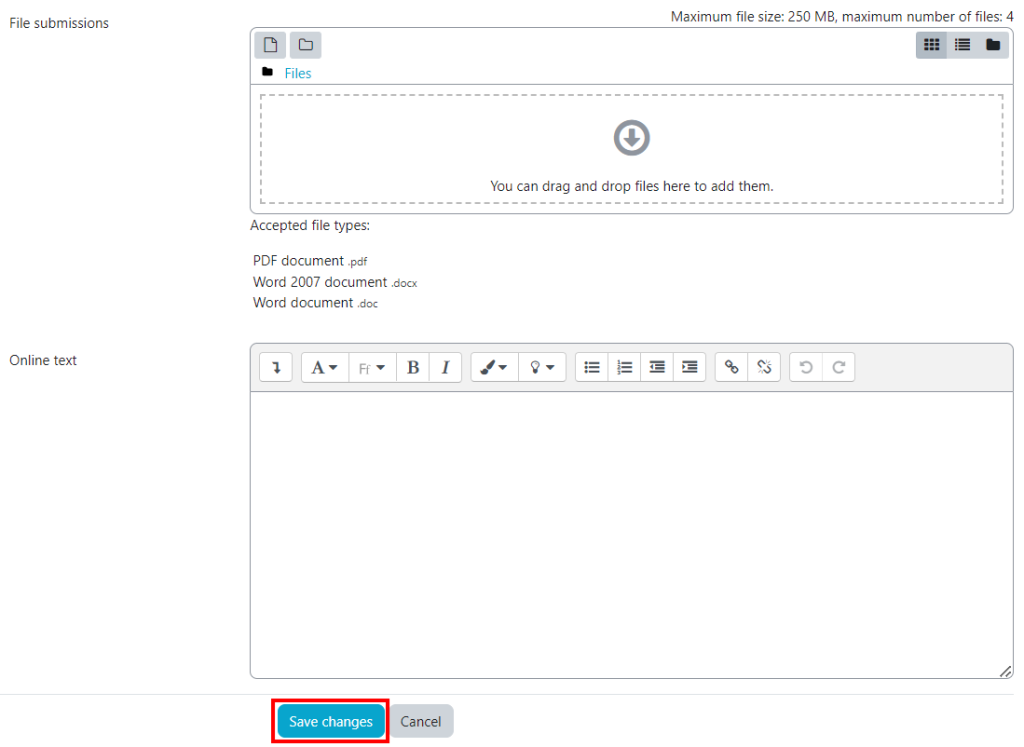
In this task, you can return both online text and maximum four files.
First, click on Add submission.
You can upload files and/or write online text.
Remember to click Save changes.
After returning the assignment, you can still edit or delete it as long as the teacher has not graded it.
You can see whether the task has already been graded under the Grading status.
Turnitin is a plagiarism detection system used at SAMK. It is integrated with both Wihi, where the check is done automatically at the end of the process, and Moodle, where it is available for the following types of assignments: assignment, exam, workshop and discussion forum.
In Moodle, each user must accept the EULA (End User License Agreement) on first use, and each time the EULA changes. Unless a student clicks the I accept the Turnitin EULA button or rejects the EULA, their work will not be sent from Moodle to Turnitin for review.
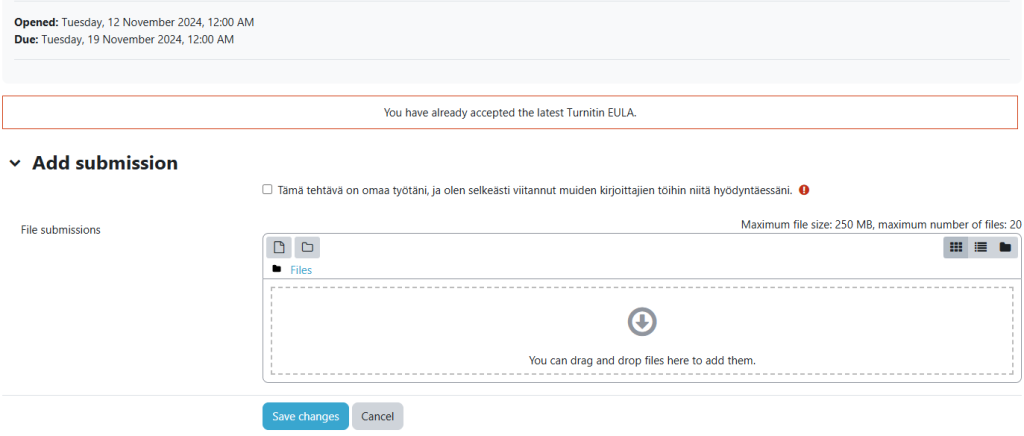
Once the latest EULA is accepted, the buttons will disappear from view and will be replaced by the text ”You have already accepted the latest Turnitin EULA”.
When the teacher uses progress tracking on their course, you can see the deadlines and terms of the items included in the tracking, on the Moodle area when you open the content.
The teacher is also able to track the progress of all students on the course.
Some of the activities and resources in the tracking may be automatically connected to the progress tracking based on the conditions set by the teacher.
The gray colour and the text To do indicates that you haven’t done the task yet.
If the colour is green and the text is Done, you have completed the task.
Depending on the settings made by the teacher, dates and criteria are also shown in the home page of the course area.

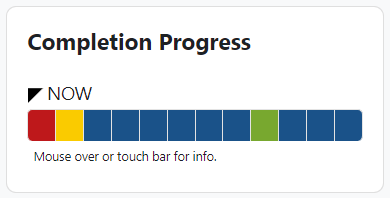
The teacher may also have added a completion progress bar to the course to help you track your progress. The settings the teacher has chosen define the tasks shown in the bar and when a task is shown as completed.
Color codes:
Blue = Task is not completed.
Green = Task is completed.
Yellow = Task is submitted.
Red = Task is late from deadline / you did not achieve a passing grade.
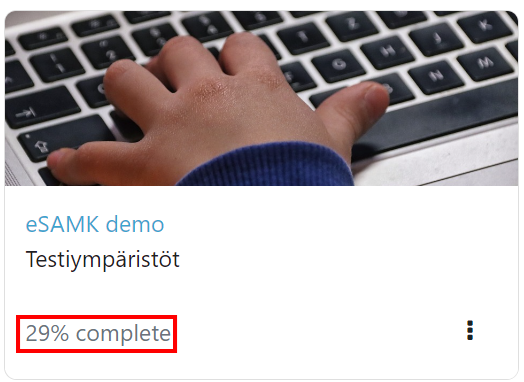
You can see your progress also on the Moodle dashboard in course overview section.
In this section, progress is shown as a percentage.
Note! Even if according to the section you have done 100% of the course, it usually does not mean that the course has been completed, because the teacher may have not defined all the mandatory tasks and exams of the course for tracking progress.
Read these instructions carefully before taking a Moodle quiz.
Before the quiz:
Starting the quiz:
Usually the quizzes have a specific start and end times, and the quiz is available automatically at a time announced in advance.
Start the quiz by clicking Attempt quiz now. If you cannot see the button, reload the page.
Moodle may be congested when the quiz starts. In this case, wait a moment, refresh your browser and reopen the quiz.
If the quiz has a time limit, Moodle will notify you about it when you click the Attempt quiz now button. Moodle will then ask you to confirm starting the quiz.
During the quiz:
Do not close your browser during the quiz or you will lose your answers.
If the quiz has several pages, you can switch pages by clicking Next page / Previous page. These buttons will also save your answers.
You can also save your unfinished quiz by clicking Finish attempt. You can still edit your answers by clicking Return to attempt.

If there is interruption in your internet connection:
Moodle saves your answers every few minutes. The answers you have written before a possible interruption in the internet connection are saved, and you can continue to take the exam when the internet is working again.
If you lose internet connection, first wait a moment. If nothing happens, refresh your browser and then navigate back to the quiz.
You can continue the quiz by pressing Continue the last attempt.
Submitting a quiz for grading:
By clicking Finish attempt, you get to the “Summary of attempt” page.
Submit your final answers by clicking Submit all and finish.
After this, Moodle will ask you to confirm that you want to submit the quiz for grading.
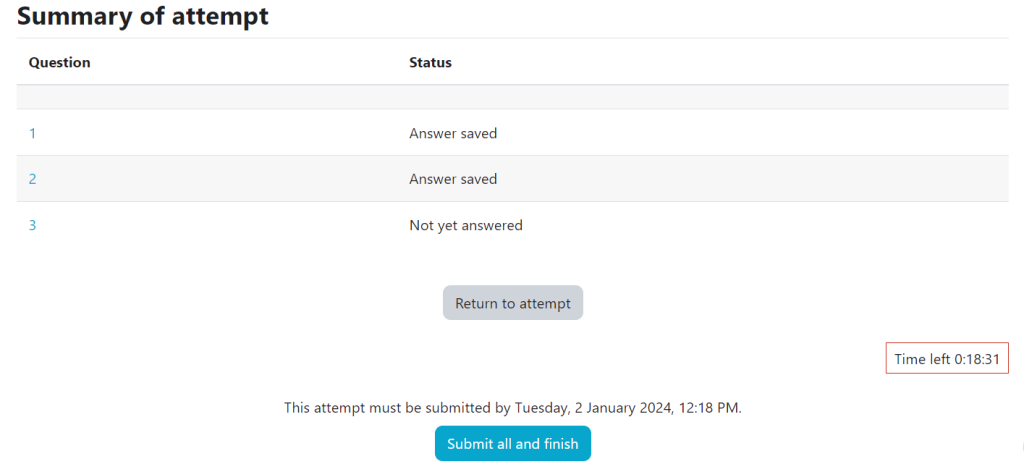
If the exam has a time limit, the submissions are closed automatically. After this, you can no longer submit your answers.
If you have not submitted your answers for grading, you will see a Continue the last attempt button and the summary will have the state “In progress”.
After the quiz:
Depending on the settings the teacher has chosen, you will see:

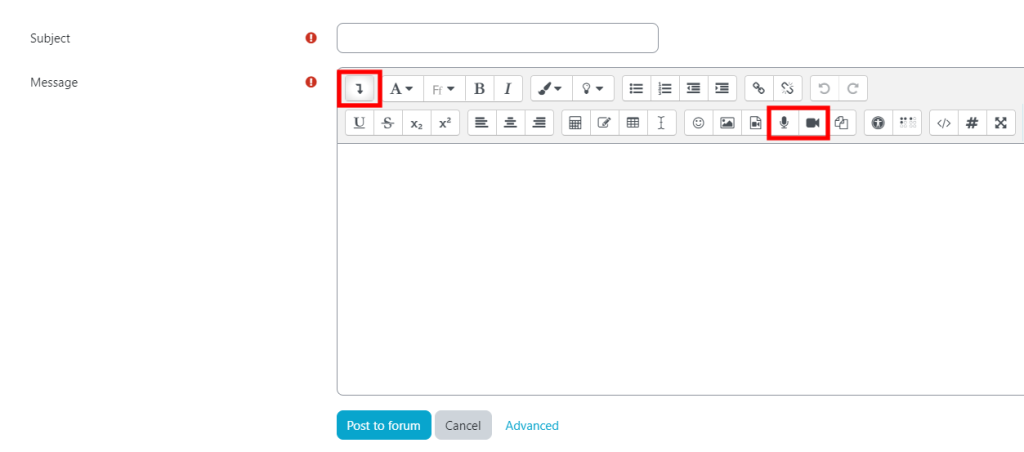
PoodLL is a tool to record voice and video in Moodle.
PoodLL works best with Chrome and Firefox browsers. There may be problems with some older Mac computers. In that case, it is also worth trying with a different browser.
NOTE! When you start recording, you have to allow PoodLL add-on to use the camera and microphone, so allow this when asked about it. Also, select the correct camera and microphone from the drop-down menu. A headset with an USB connection is the best option for recording sound.
NOTE! Before starting an extensive recording session, test the equipment and configuration beforehand by doing a test recording with the PoodLL.
In the assignment, PoodLL is included in the normal task submission. So let’s start by pressing Add submission.
In the window that opens, you can find the PoodLL recorder.

You can start recording by pressing Record. Note that during the recording, pausing is not an option. If you press Pause button, you cannot resume recording.
After pressing the Stop button, you can preview your recording by pressing the Play button. Alternatively, you can create a new recording by pressing the Record button again which will replace the previous session. When you are satisfied with the result you can upload the recording onto the server by pressing the Upload button. When the upload is successfully completed a “Uploaded successfully” -text will be displayed.
After completing the recording and uploading it press Save changes. After saving the changes, you can view the status of the submission. The submission may take a while to convert, depending on the length of the recording.
First click Add discussion topic.
From the window that opens:
Allow your browser to use the camera and microphone if asked.
In this example, we are recording a video:
Press the Start recording button.

A window appears where the recording takes place.
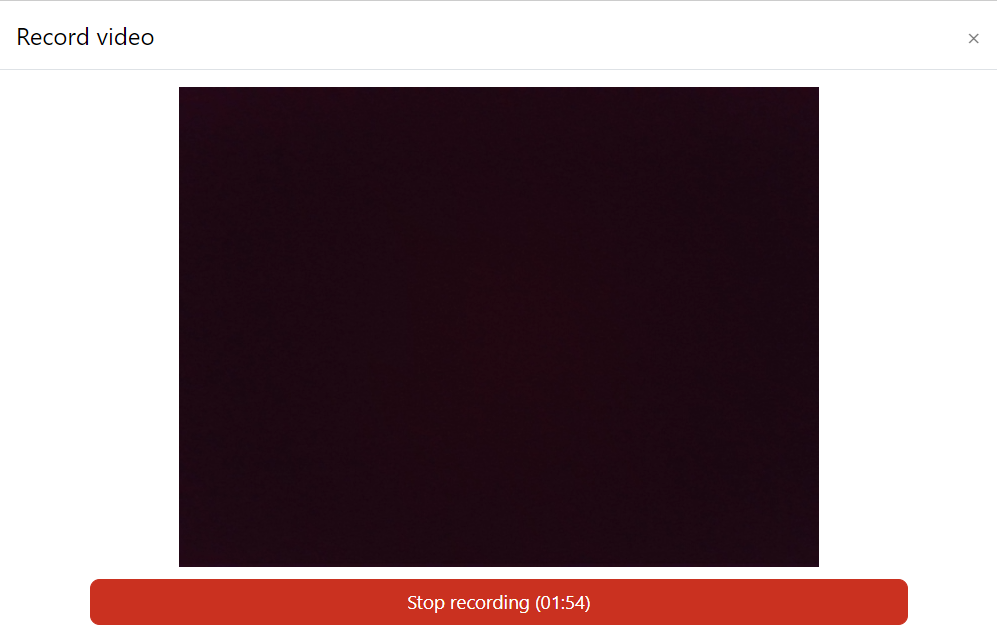
Click Stop recording when you have your video recorded.
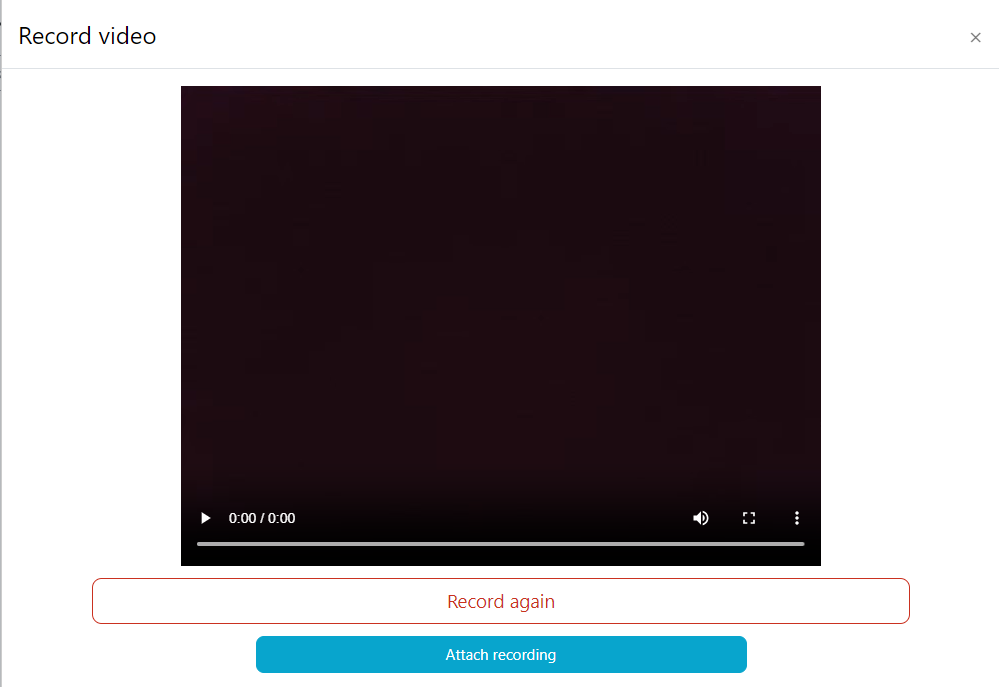
After you stop recording you can view your recording or record again.
Finally, don’t forget to click Attach recording (only this will attach your recording to the discussion area).
Next, you return to your chat message where the video is displayed. Finally, press the Send message button.
Submitting works:
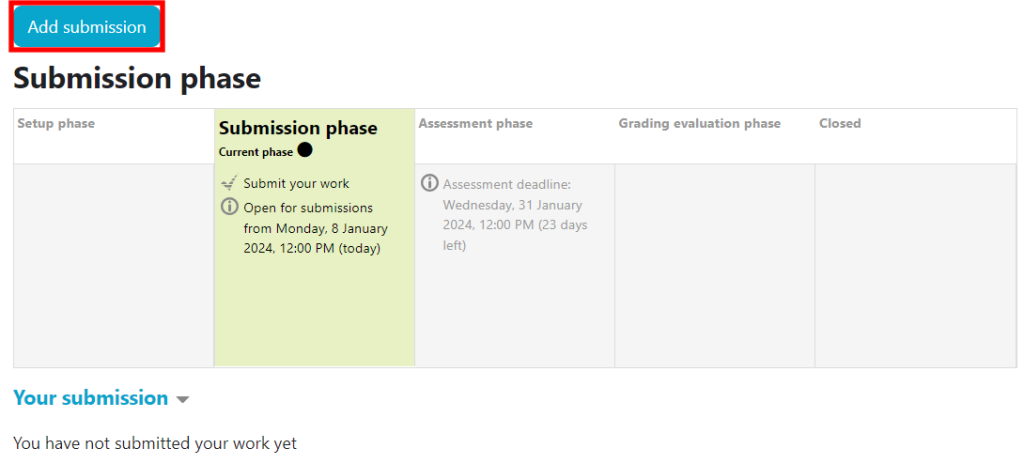
When the teacher opens the workshop for students, they will see a Add submission button.
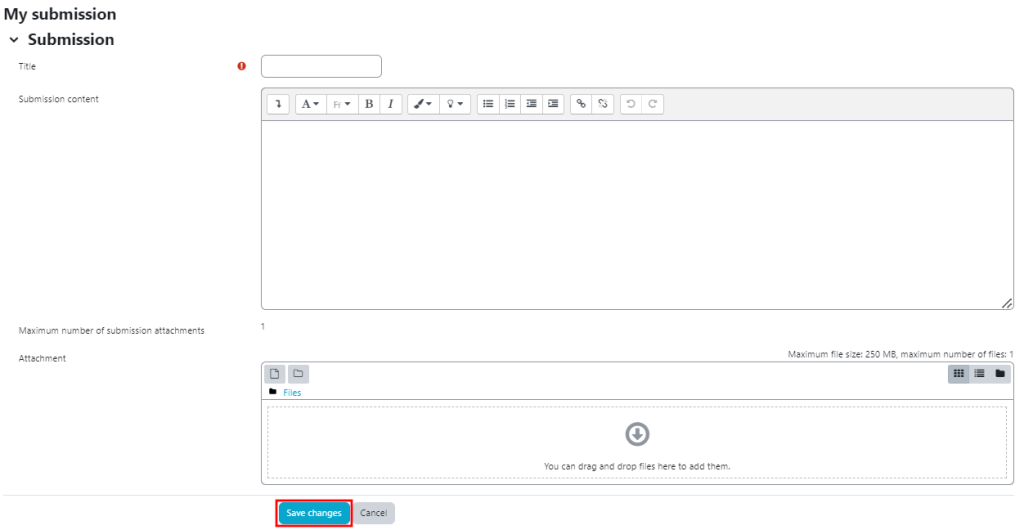
Give your submission a title and then add your work as a file or by writing it directly to the Submission content field.
When you are ready, click the Save changes button.
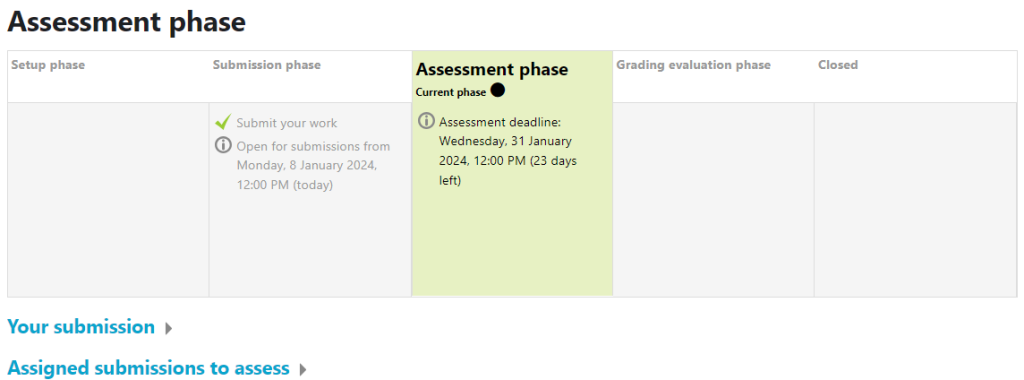
Assesment:
In the next phase, you will carry out a peer assessment / self-assessment on submissions as per the teacher’s instructions.
In the Assigned submissions to assess -section, you can see how many submissions are waiting for your assessment.
Depending on the settings set by the teacher, the assessment is given / received anonymously.
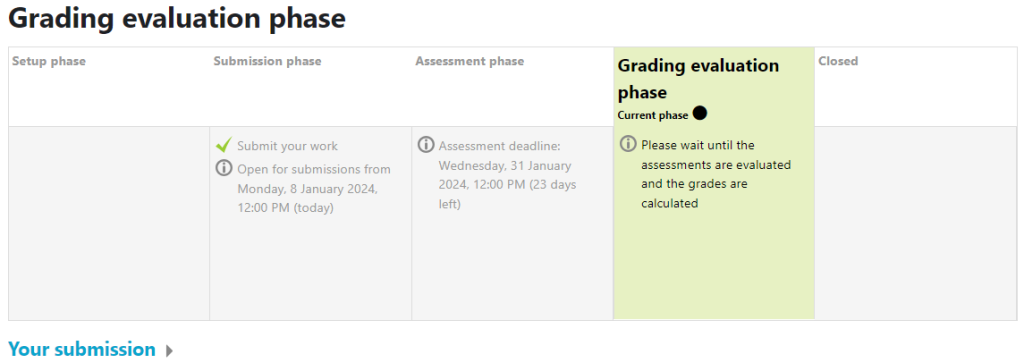
Grading evaluation phase:
In this phase, you can no longer edit your submissions or peer assessments. The teacher calculates the final grades and can give feedback to both submitted works and peer evaluators.
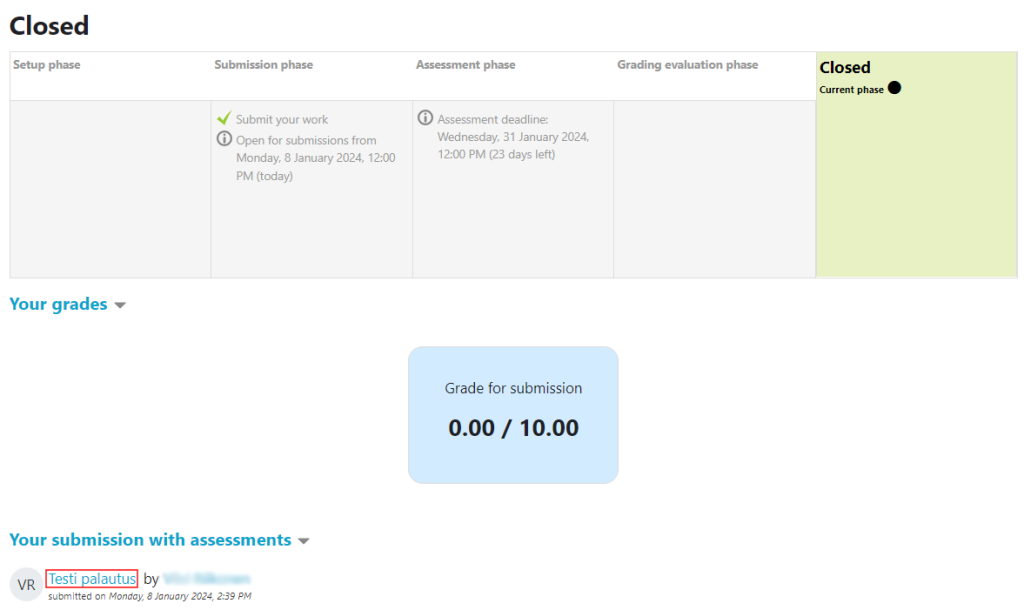
Closed:
When the teacher closes the workshop, the students can see their grades.
The grade of the submission is the overall grade given by other students.
The peer assessment grade tells you how successful you were in your peer assessment in relation to other assessments.
If your assessment differs from assessment given by the others, you will receive a lower grade.
You can see the feedback you have received by clicking the name of your work.
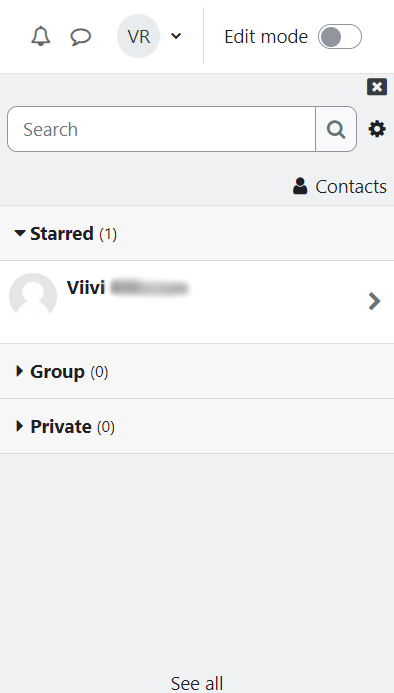
Chat is a instant messaging function that can be found in Moodle. Chat allows you to communicate with other users in Moodle.
Users do not have to be online for receiving messages on the chat. With the chat you can communicate with other students or teachers.
Chat can be found in the upper right corner next to your profile:

When a message arrives in the chat, a red message icon appears next to the chat icon. Clicking this opens a bar where you can find received messages.
You can send both personal and group messages in the chat.
Moodle can also be used with mobile devices (Android & iOS) either with browser or with mobile application.
You can download Moodle app from Play Store / App store.
Browser version is responsive and changes by display orientation and resolution but the mobile app is easier to use.
After installing the mobile app to your device you can setup Moodle with these instructions:
Enter the full address in the address line: https://moodle4x.samk.fi
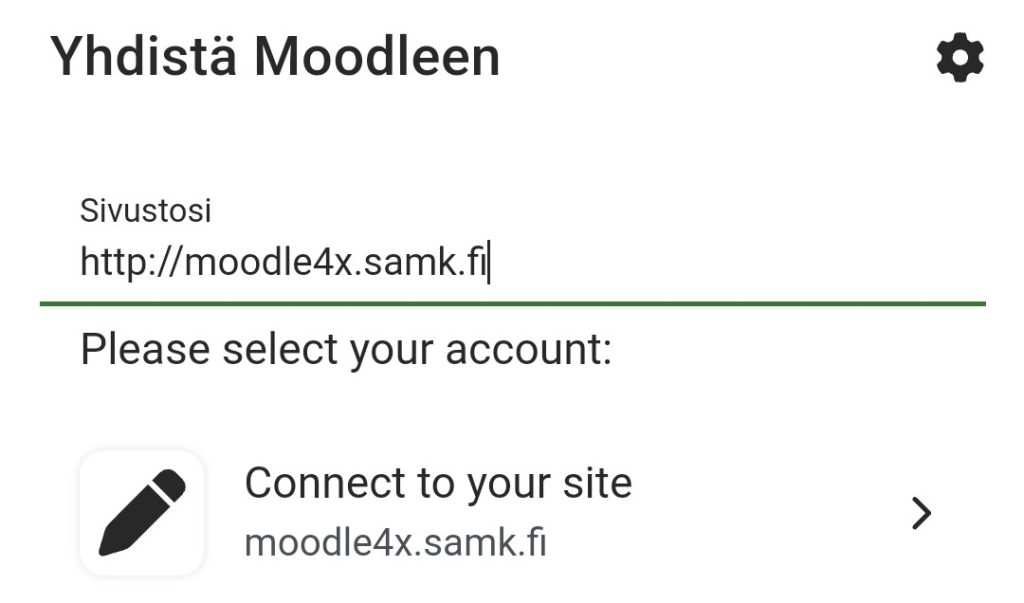
By clicking log in, the login page opens in the browser.

Select Moodle 4 (Courses 8/2023 ->) and log in with your SAMK credentials.
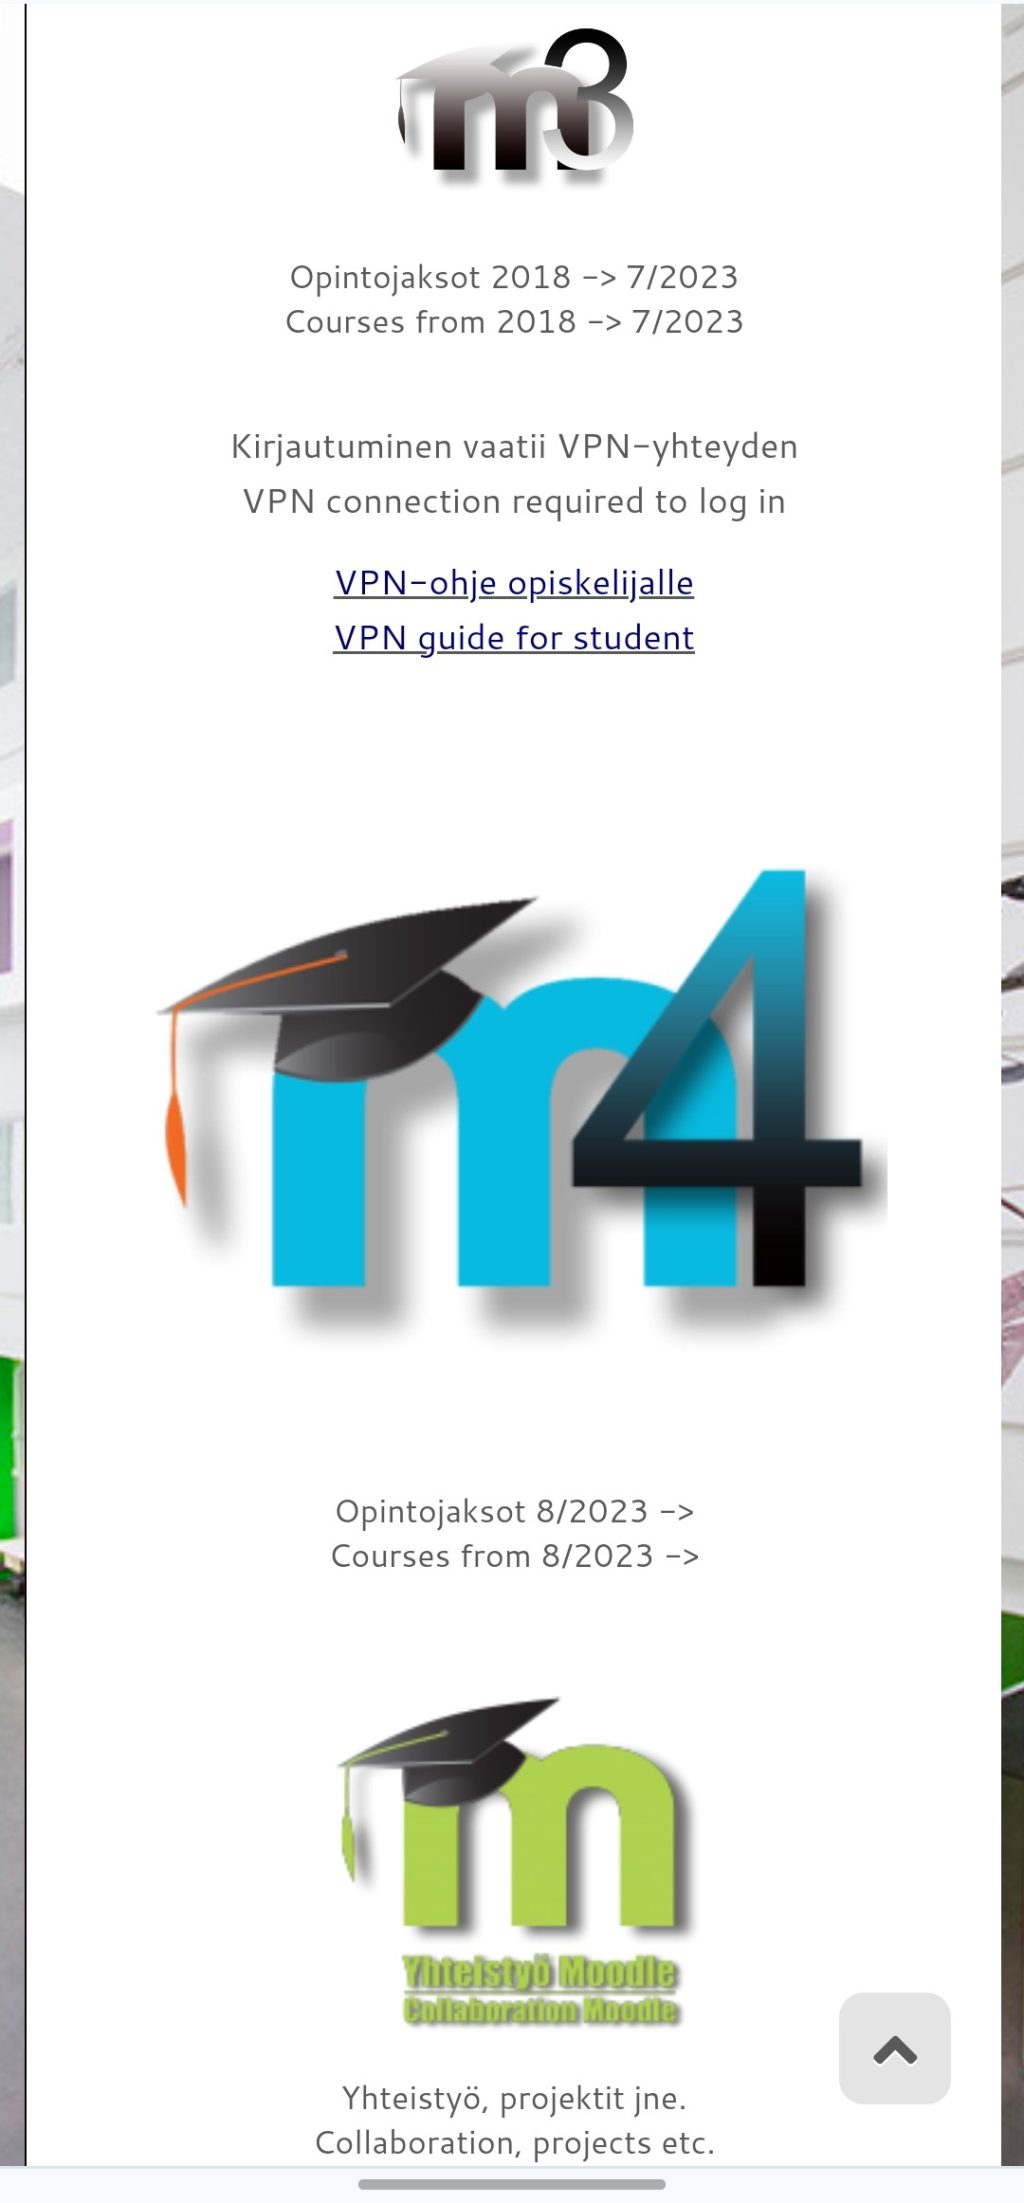
If you add several Moodles (e.g. you study at another school that uses Moodle), when you open the application in the future, you will end up in a list from which you can choose the Moodle you want to go to.